Mesh Wi-Fi 6 ATRIA 3000 (pacote com 2 unidades)
Todas as perguntas
Mesh Wi-Fi 6 ATRIA 3000 (pacote com 2 unidades)
Como posso configurar um endereço IP estático ou atribuir um endereço IP dedicado à minha unidade Atria Mesh AX3000?
Pode ser interessante definir um IP estático para o seu controlador mesh , de modo a facilitar o acesso à interface de utilizador web na sua rede, na aplicação Atria Mesh .
Também pode atribuir endereços IP dedicados aos dispositivos ligados à sua rede mesh através da interface de utilizador web.
1Caso1: Configurar um IP estático para o controlador mesh na aplicação Atria Mesh
Tem de se ligar à rede Wi-Fi do « mesh » no seu dispositivo e abrir a aplicação Atria.

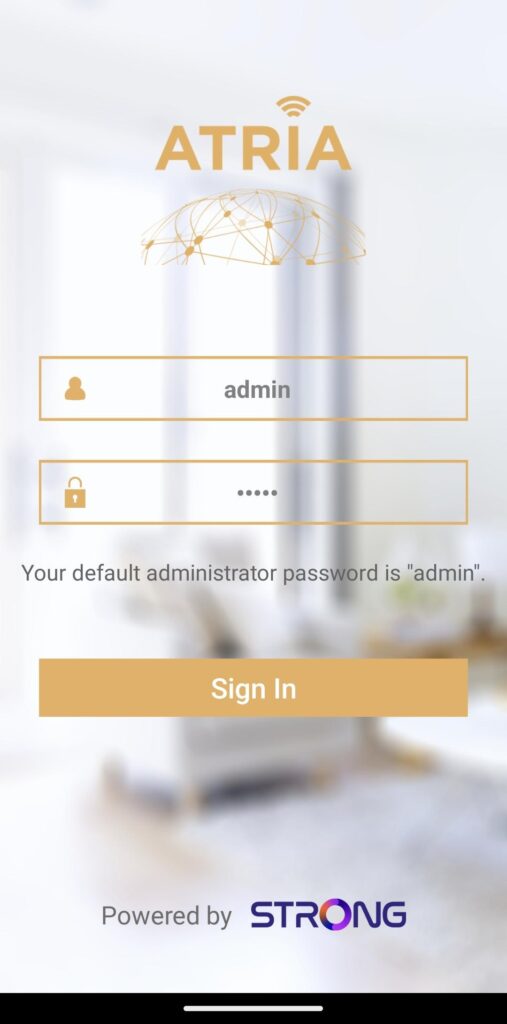
2Introduzaas suas credenciais
Introduza o nome de utilizador e a palavra-passe (admin/admin) antes de clicar em «Iniciar sessão».
3Configurações de Internet- Estáticas
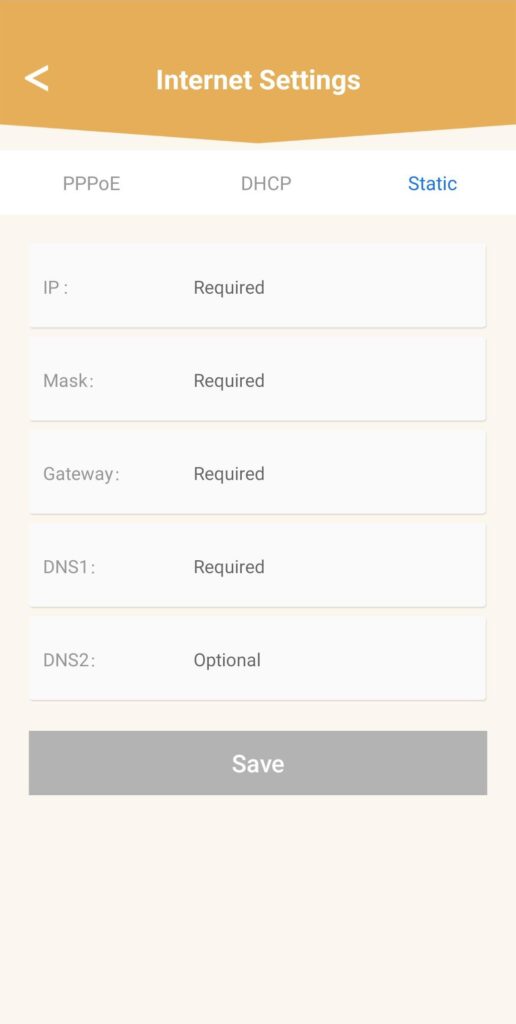
Clique em «Definições de Internet » e em «Estático». Deve introduzir as seguintes informações antes de clicar em «Guardar »:
• IP: introduza o endereço IP que pretende atribuir ao mesh.
• Máscara: o campo é preenchido automaticamente com base no endereço IP introduzido anteriormente.
• Gateway: o campo é preenchido automaticamente com base no endereço IP introduzido anteriormente.
• DNS1: Introduza o endereço DNS principal do fornecedor de serviços da sua ligação à Internet box.
• DNS2: Introduza o endereço DNS secundário do fornecedor de serviços da sua ligação à Internet box.
1Caso2: Atribuir um endereço IP dedicado aos seus agentes/dispositivos do mesh na interface de utilizador web
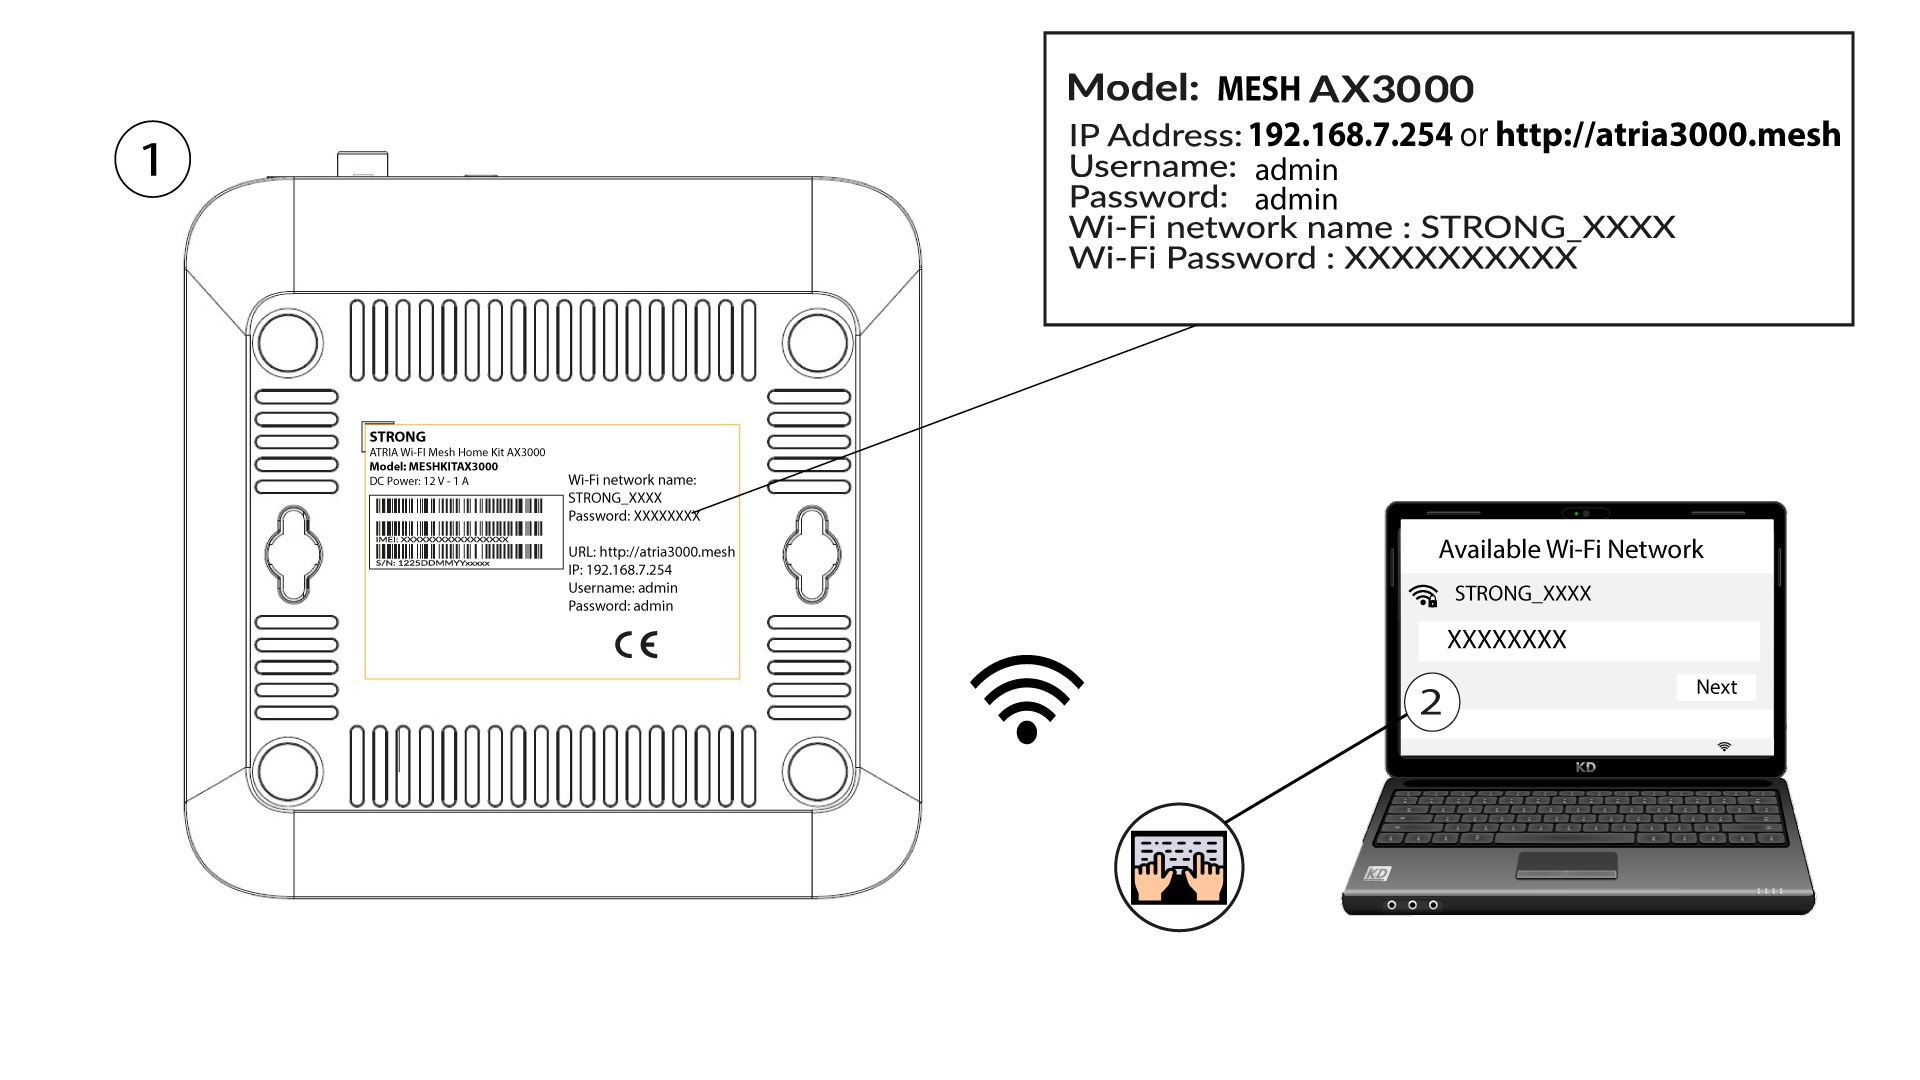
Para tal, introduza o SSID (nome da rede Wi-Fi) e a palavra-passe Wi-Fi do router no seu dispositivo:
2. Acedaao endereço IP da interface de utilizador web
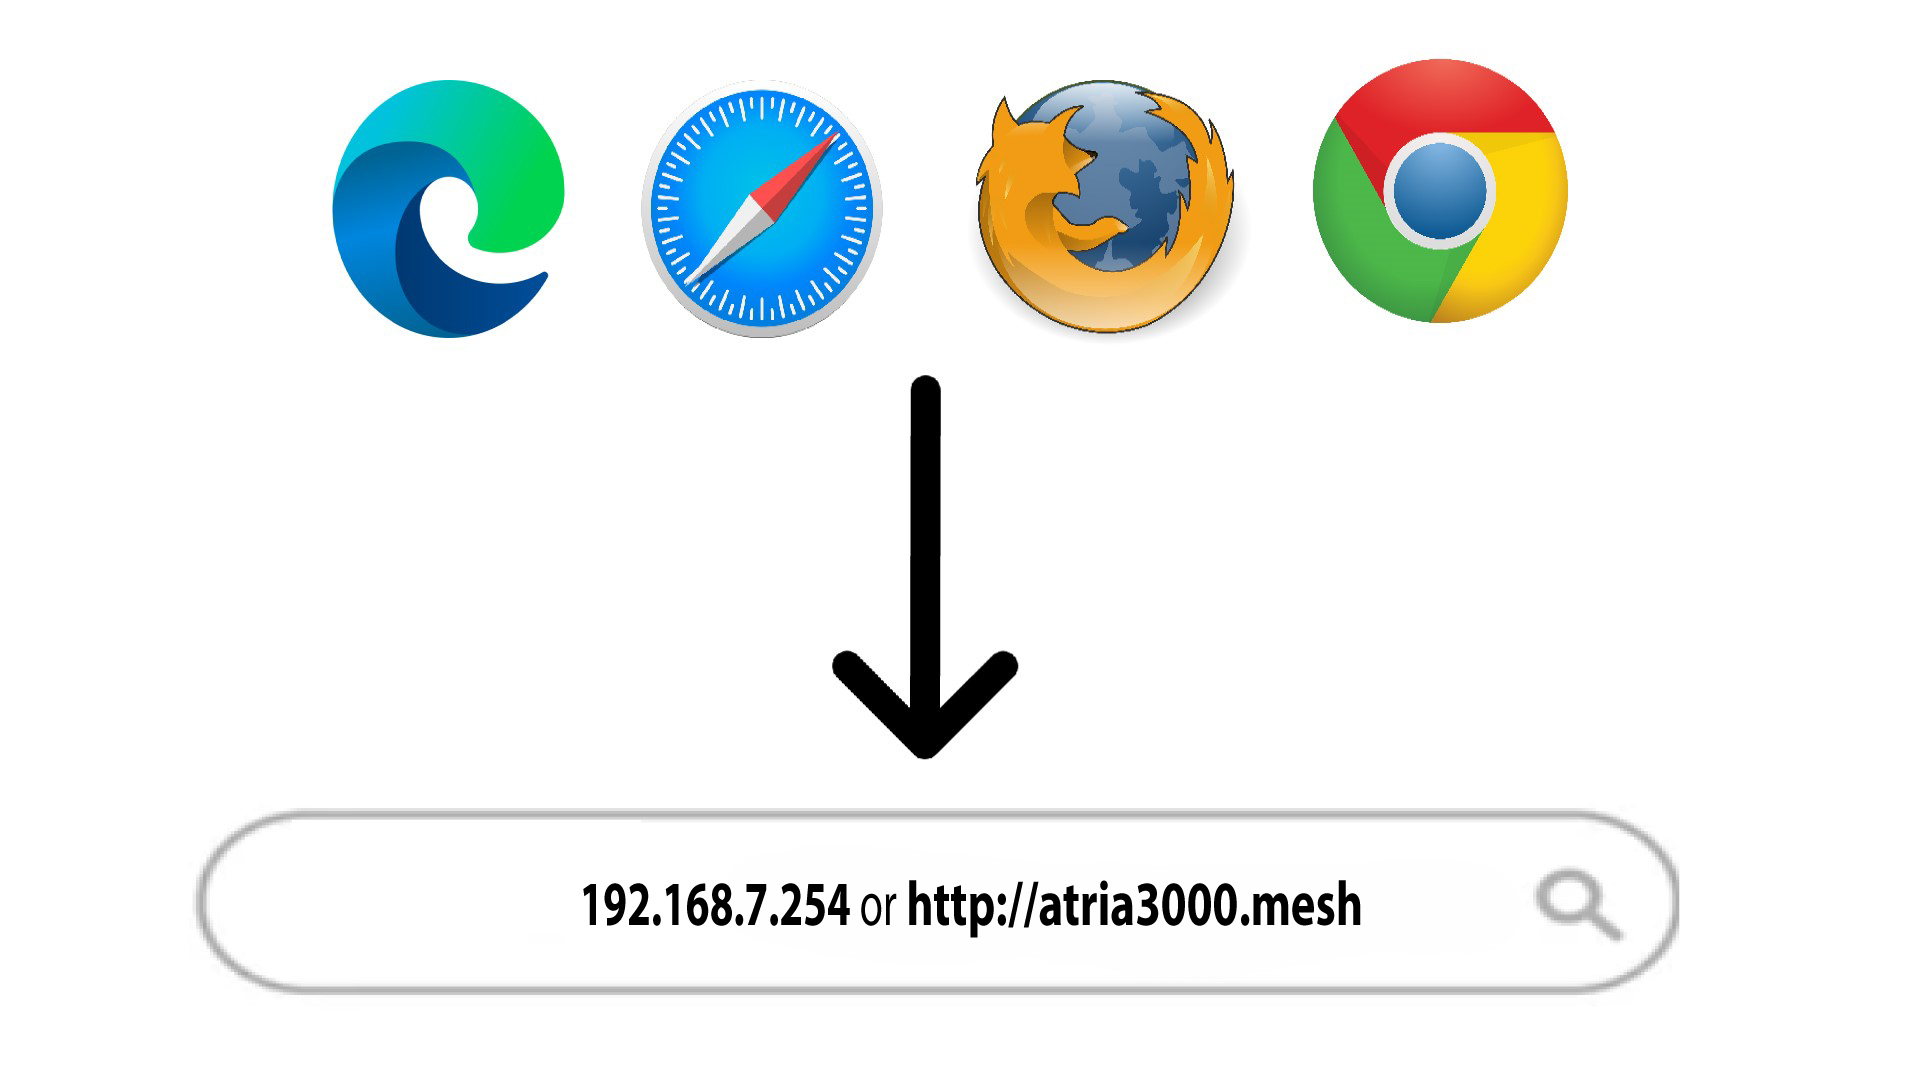
Em seguida, introduza o seguinte endereço IP no seu navegador: 192.168.7.254 ou digite o seguinte endereço: http://atria3000.mesh
3Introduzaas suas credenciais
Deve introduzir o nome de utilizador (admin) e a palavra-passe (admin) (tenha em atenção que, após a primeira ligação, irá criar a sua palavra-passe de administrador pessoal, o que significa que a palavra-passe indicada na etiqueta do produto deixará de funcionar). Em seguida, clique em «Iniciar sessão».

4. Configuração do IPv4
Clique em «Rede», «Configuração da LAN » e «Configuração IPv4».

5Adicionarum endereço IPv4
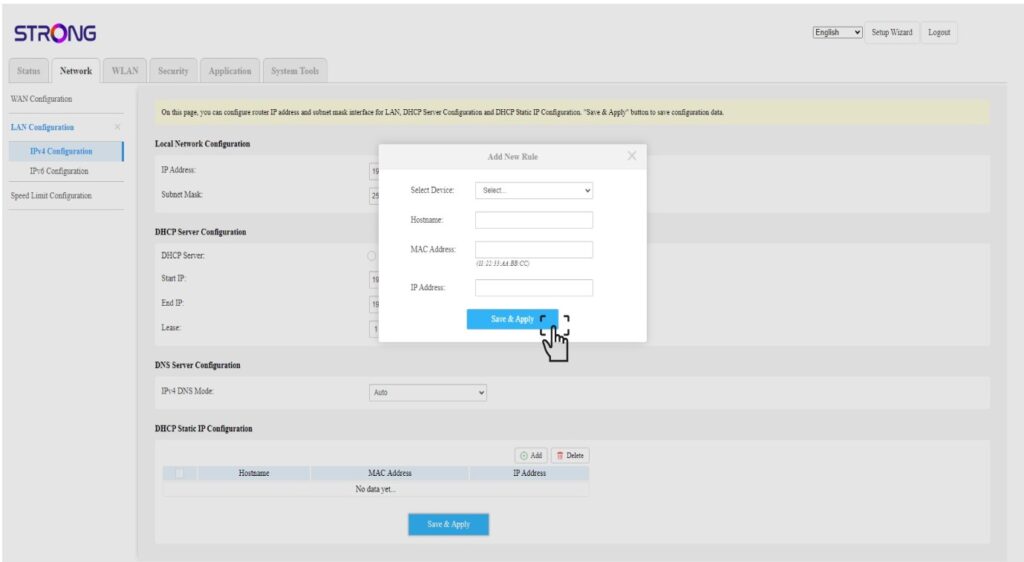
Clique em «Adicionar» na «Configuração de IP estático do DHCP». Em seguida, introduza as seguintes informações antes de clicar em «Guardar e aplicar».
• Selecionar dispositivo: selecione o nome do dispositivo na lista.
• Nome do anfitrião: este campo é preenchido automaticamente com o nome do dispositivo.
• Endereço MAC: este campo é preenchido automaticamente com o endereço MAC do dispositivo.
• Endereço IP: este campo é preenchido automaticamente com o endereço IP estático atribuído ao dispositivo