ATRIA Wi-Fi 5 Mesh System 2100 UK (add-on)
All questions
ATRIA Wi-Fi 5 Mesh System 2100 UK (add-on)
Settings and features
How do I use the WPS function?
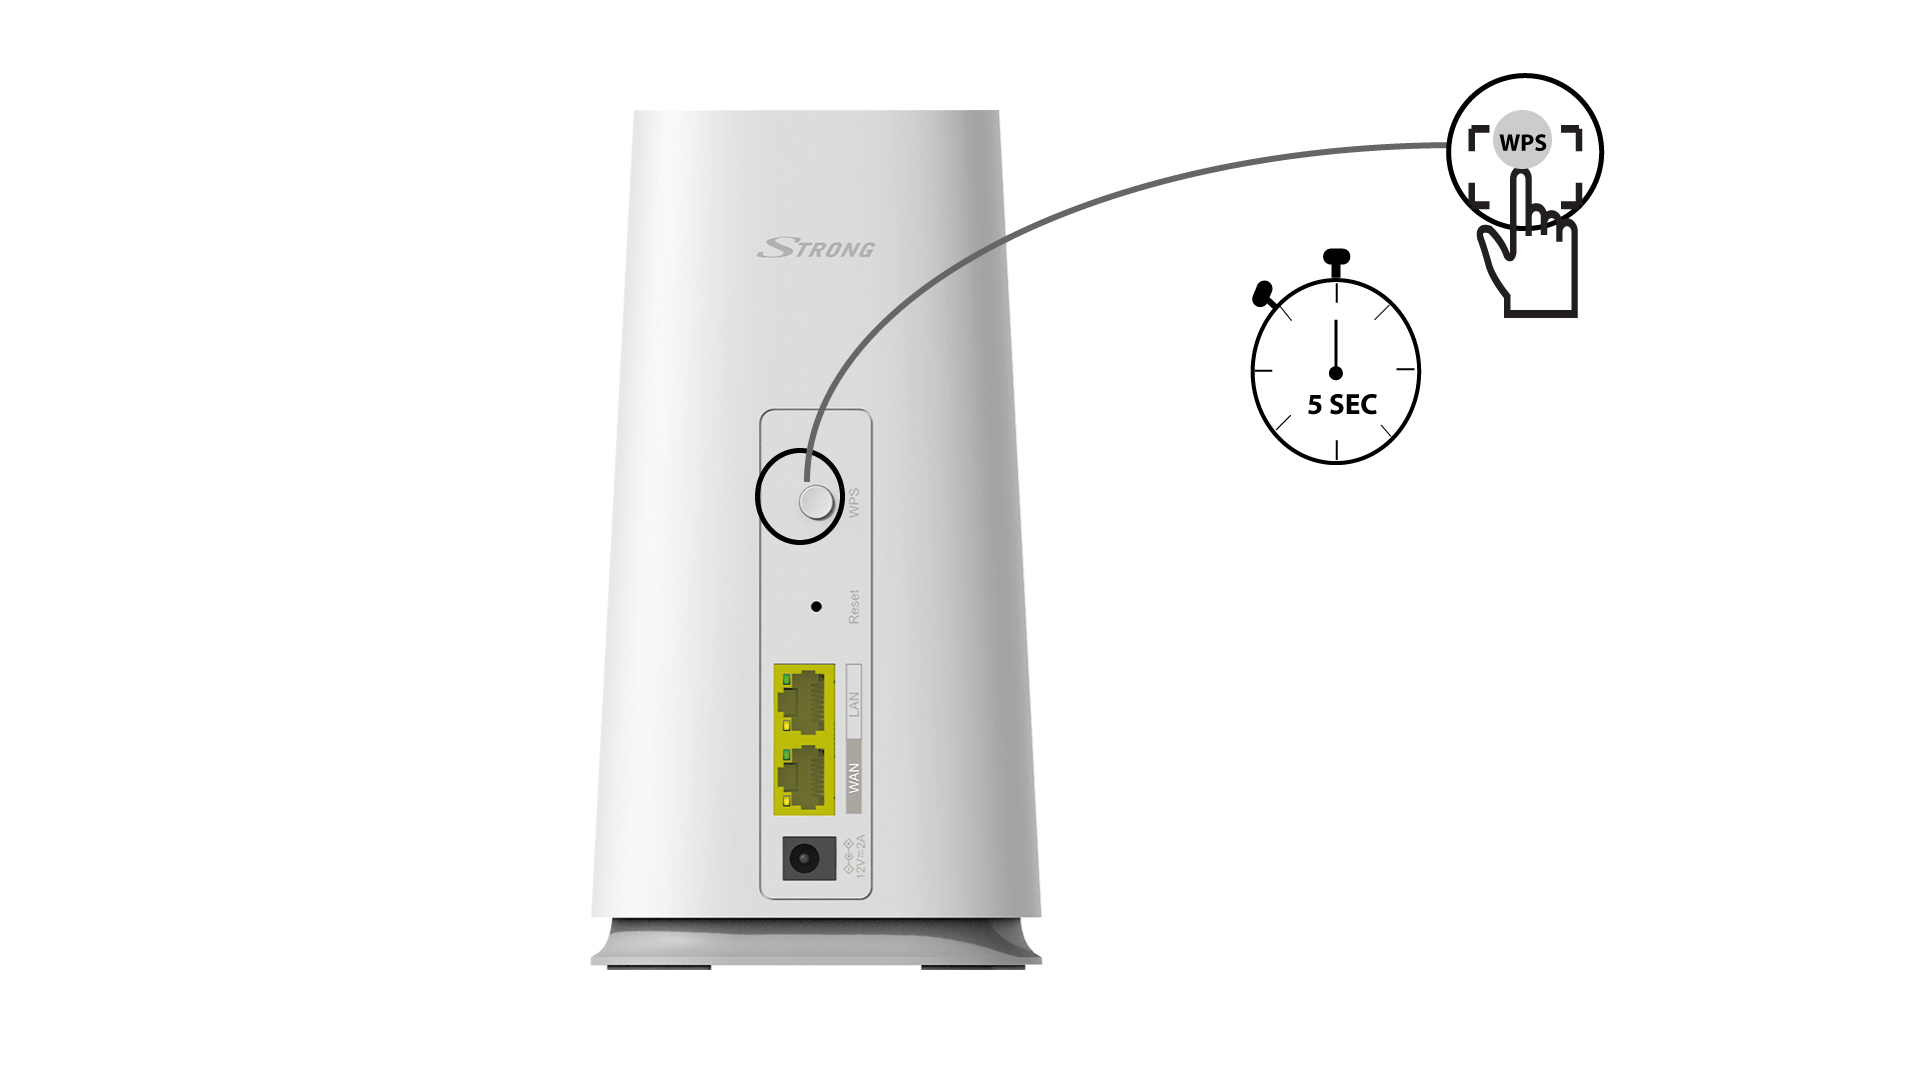
It is very easy to activate the WPS on your router.
1WPS button
To do so, press the WPSbutton for 4 seconds on the Mesh unit that is connected to your router/modem by RJ45.
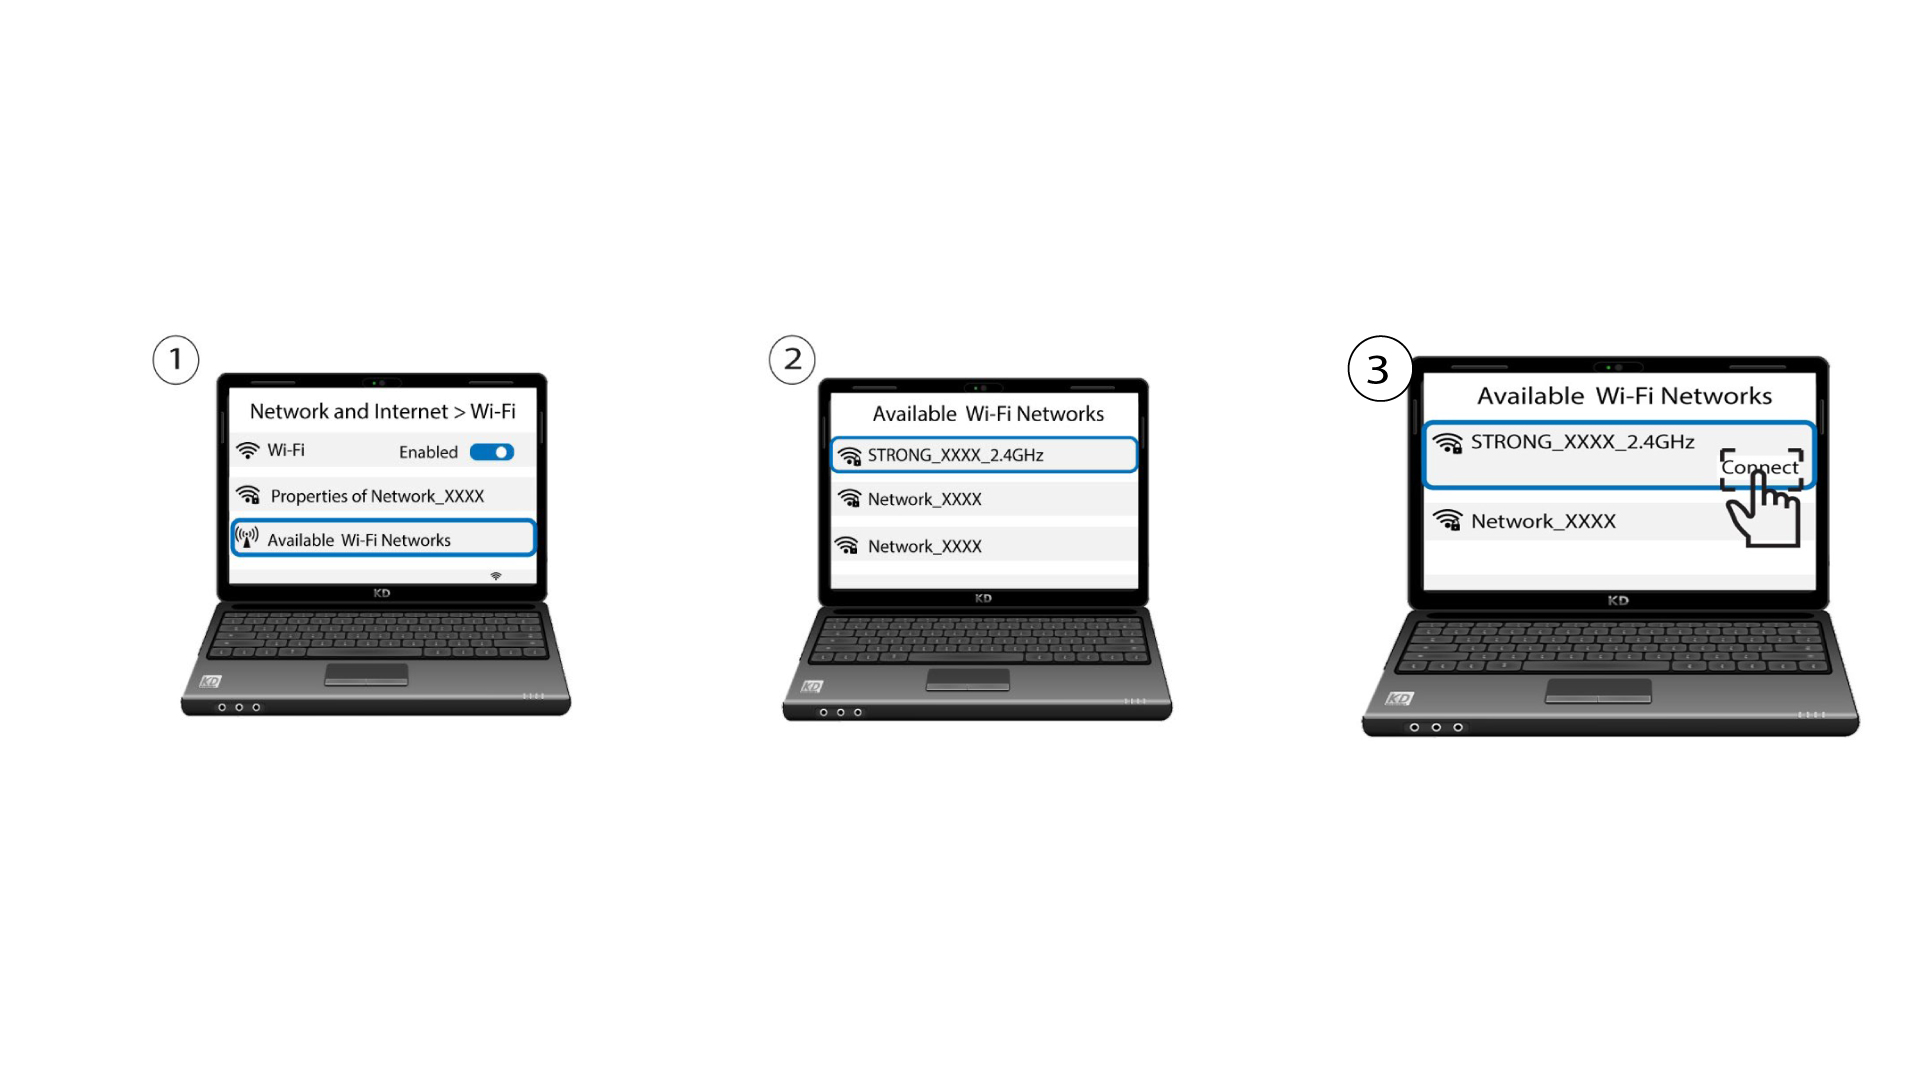
2Wi-Fi devices list
Now go the the Network selection of your device (phone, computer, printer, etc.) and the new device added to the network should appear and you can now connect to its network.
Can I configure a Guest Network for my Mesh network?
Yes, you can configure a Guest Network for your Mesh network. There are 2 ways to do so :
1CASE 1: Web UI:
To connect to the Web UI, please refer to the following procedure: How do I access the Web UI?
2Guest Network
Click WLAN and Guest Network. If you want to activate both 2.4 and 5Gguest networks, check the enable boxes and click Confirm.
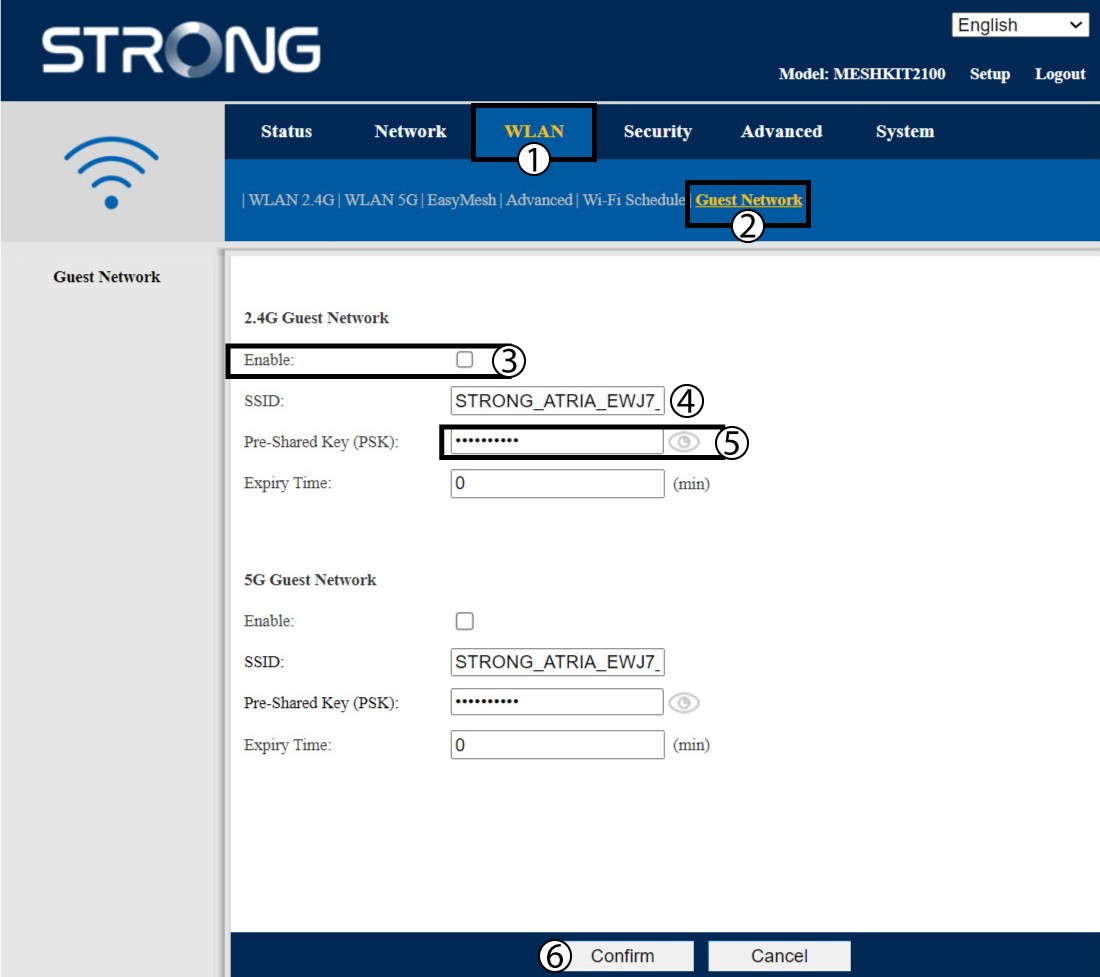
3Write down the new information
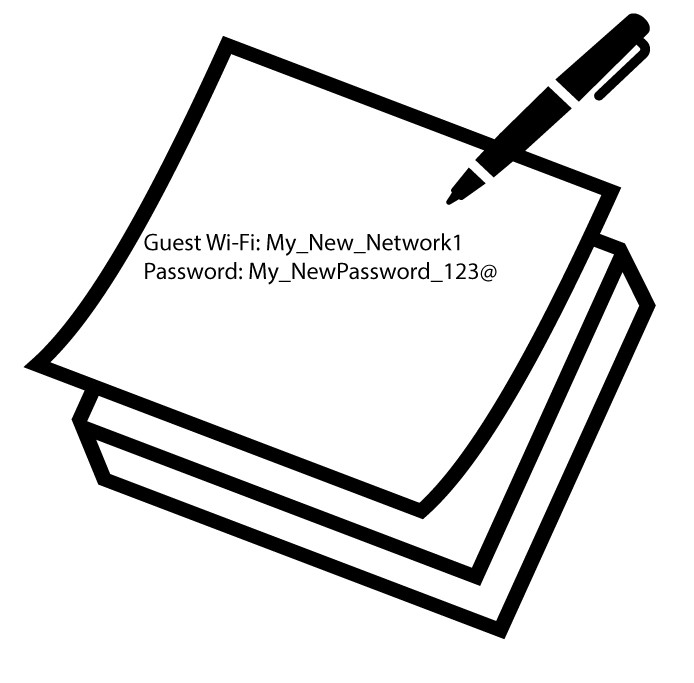
Write down the guest networks name and passwords on a piece of paper.
1Case 2: Atria Mesh App
To connect to the App, please refer to the following procedure: How do I use the Atria Mesh App?
2Guest Wi-Fi
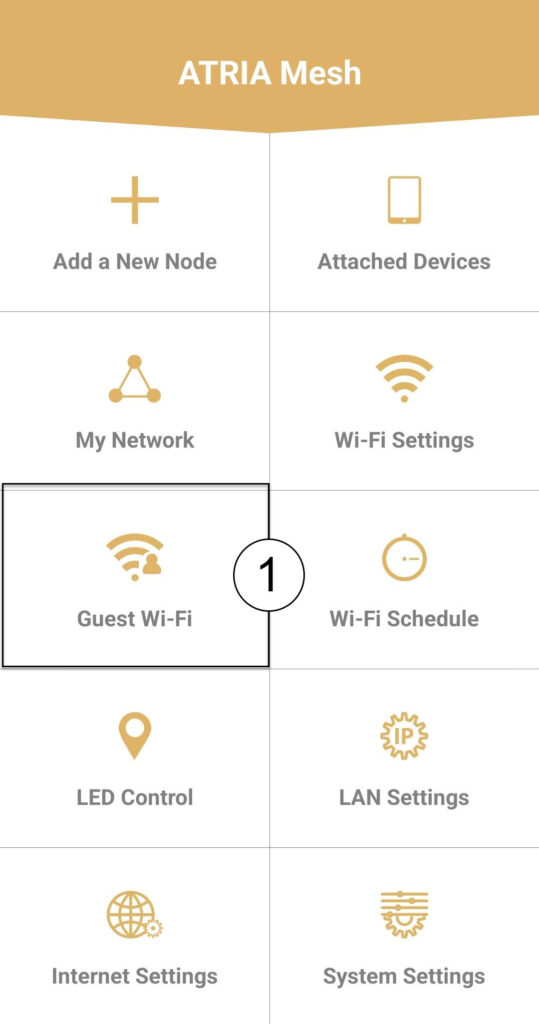
Click Guest Wi-Fi.
3NEW STEP
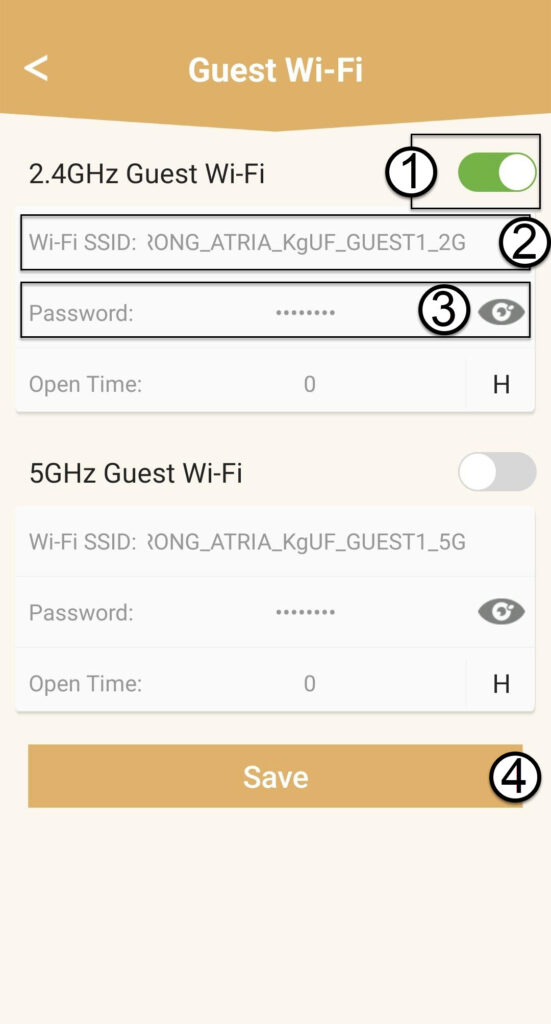
Press the toggle button of the Guest Wi-Fi Network to activate it. Then, click the SSID Wi-Fi name to change it and click the eyeicon to display the password and edit it before clicking Save.
4Write down the new information
Write down the new Wi-FI SSID and password on a piece of paper.
How can I set/allocate a static IP address for my Atria Mesh 2100 unit?
It can be interesting to set a static IP for you mesh controller to have an easier access to the Web UI on your network in the Atria Mesh app.
You can also allocate dedicated IP Addresses to the devices connected on your mesh network in the Web UI.
1Case 1: Set up a static IP for the mesh controller in the Atria Mesh App
Download the application for smartphone 'ATRIA MESH' on the App Store or the Google Play Store.

2Connexion to the Wi-Fi
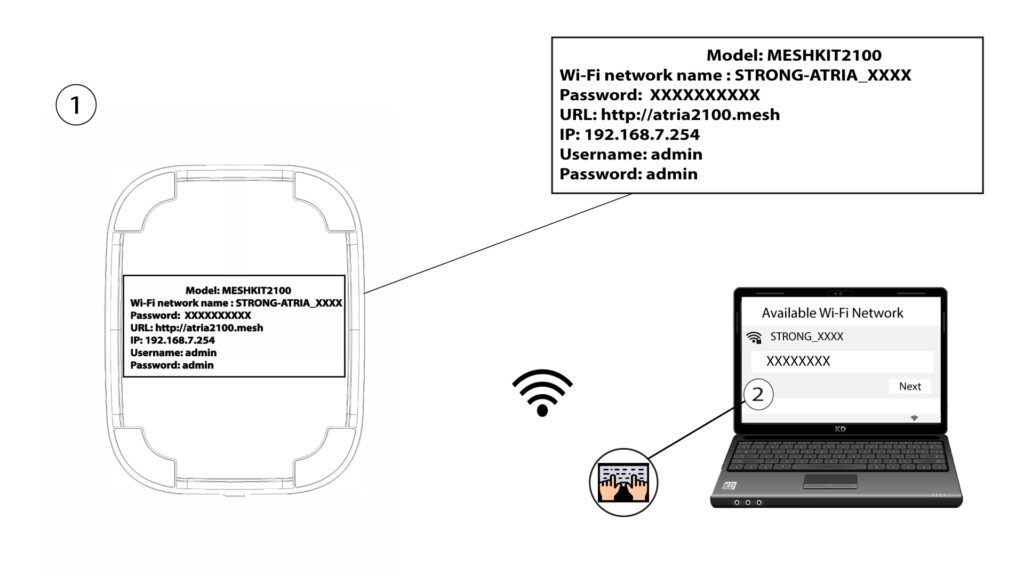
Connect to the Wi-Fi of your mesh unit.
3Credentials
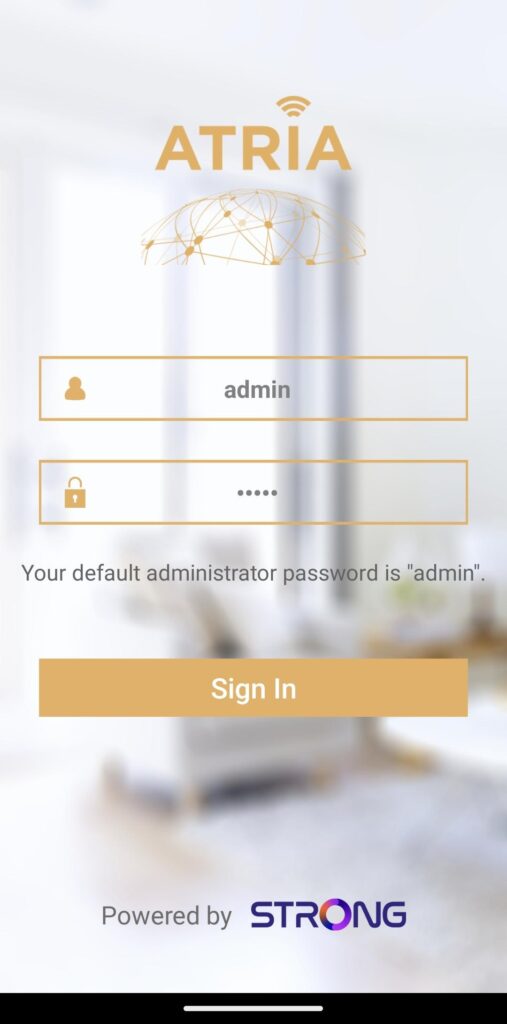
Then you need to be connected to the Wi-Fi of the Mesh with your smartphone and then login to the app with your credentials that should be 'admin' and 'admin' if you have not changed it.
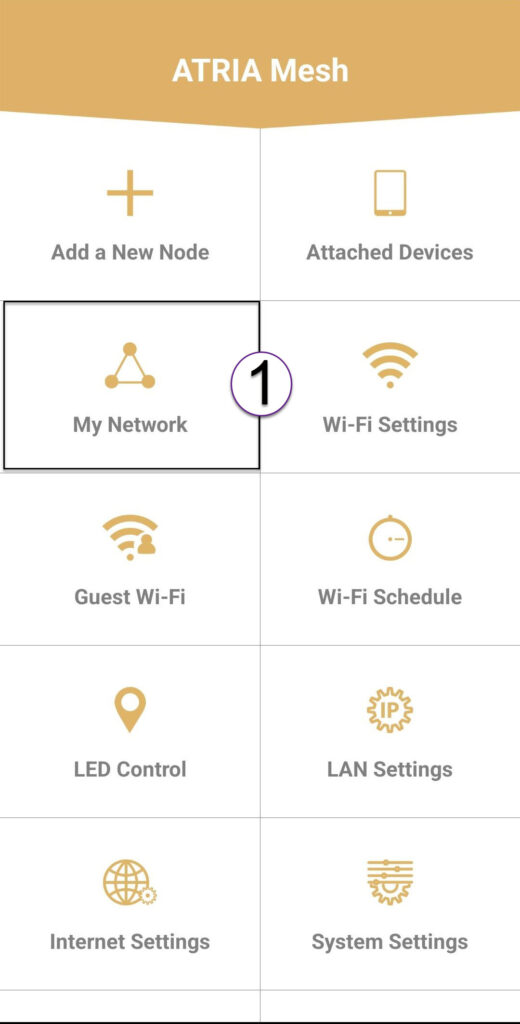
4My Network
Click My Network.
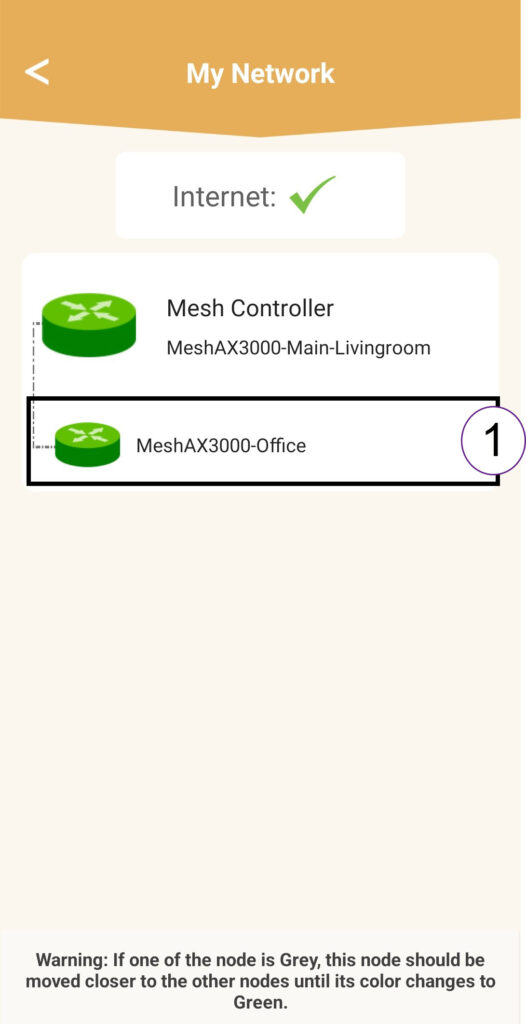
5Mesh Agent
Click the Name of the Mesh Agent in the list.
6IP Address
Identify its IP Address and MAC Address.
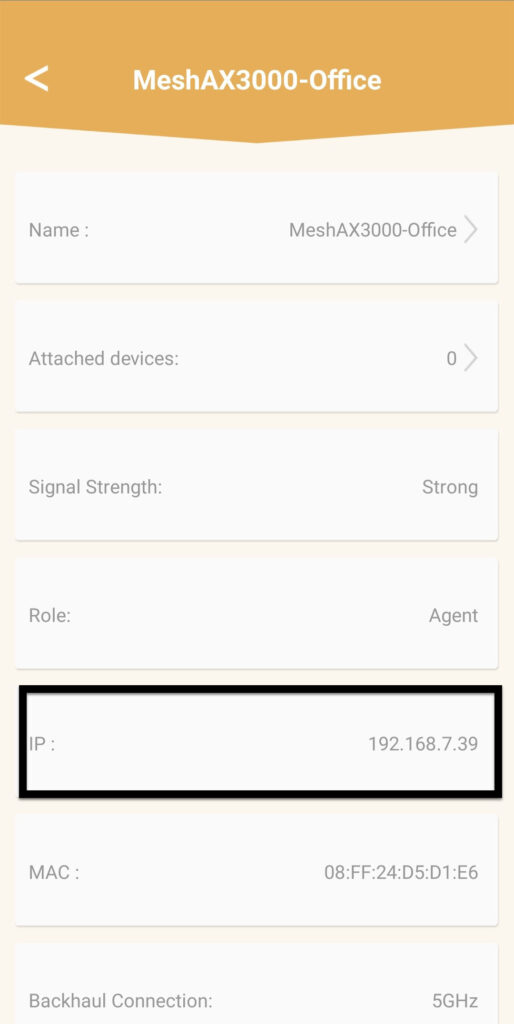
7Write down the new information
Write down the IP Address and MAC Address.
8Internet Settings
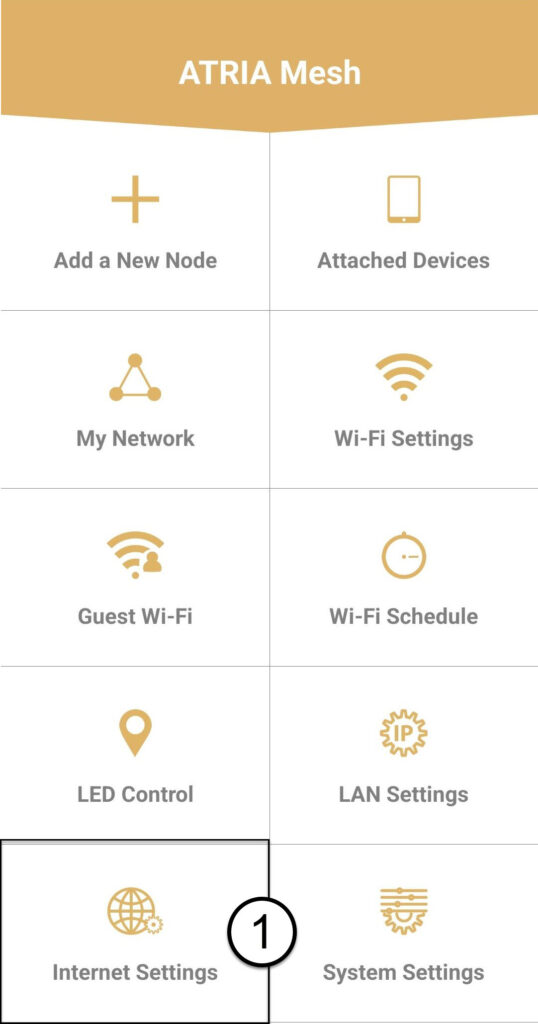
Click Internet Settings.
9Static
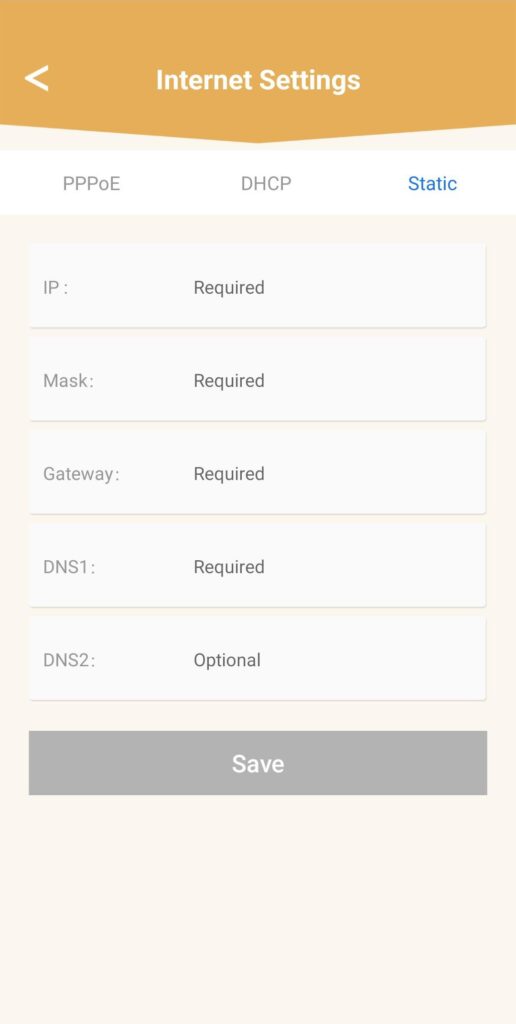
Select Static IP. Enter the following information before clicking Save:
- IP: Enter the IP Address of the Agent
- Mask: The field is automatically populates with the appropriate value
- Gateway: The field is automatically populates with the appropriate value
- DNS1: Enter the primary DNS address (you can find this information in the Web UI : Network > LAN -> Enable Manual DNS)
- DNS2: Enter the secondary DNS address (you can find this information in the Web UI : Network > LAN -> Enable Manual DNS)
1Case 2 : Allocate a dedicated IP address to your mesh agents/devices in the Web UI
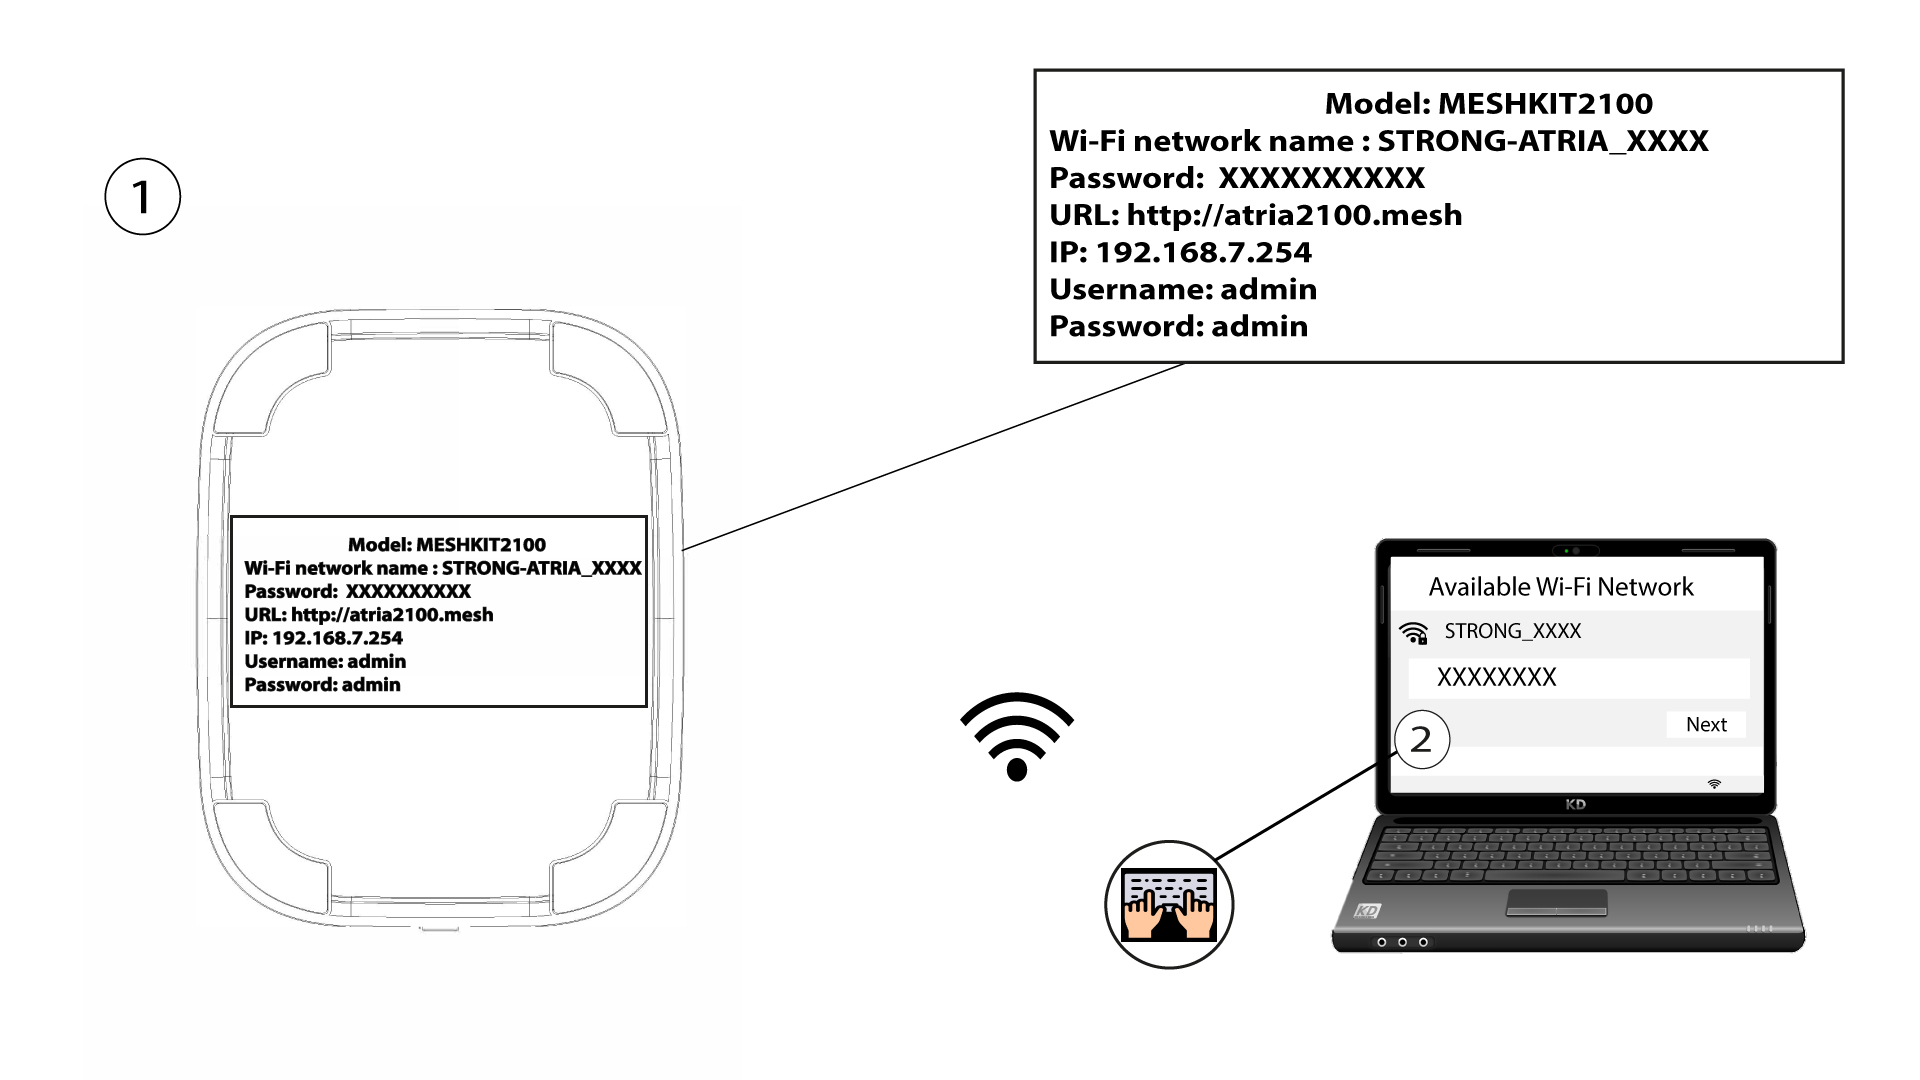
To do so, connect to the Wi-Fi of your mesh network.
2IP Address of the Web UI on your browser
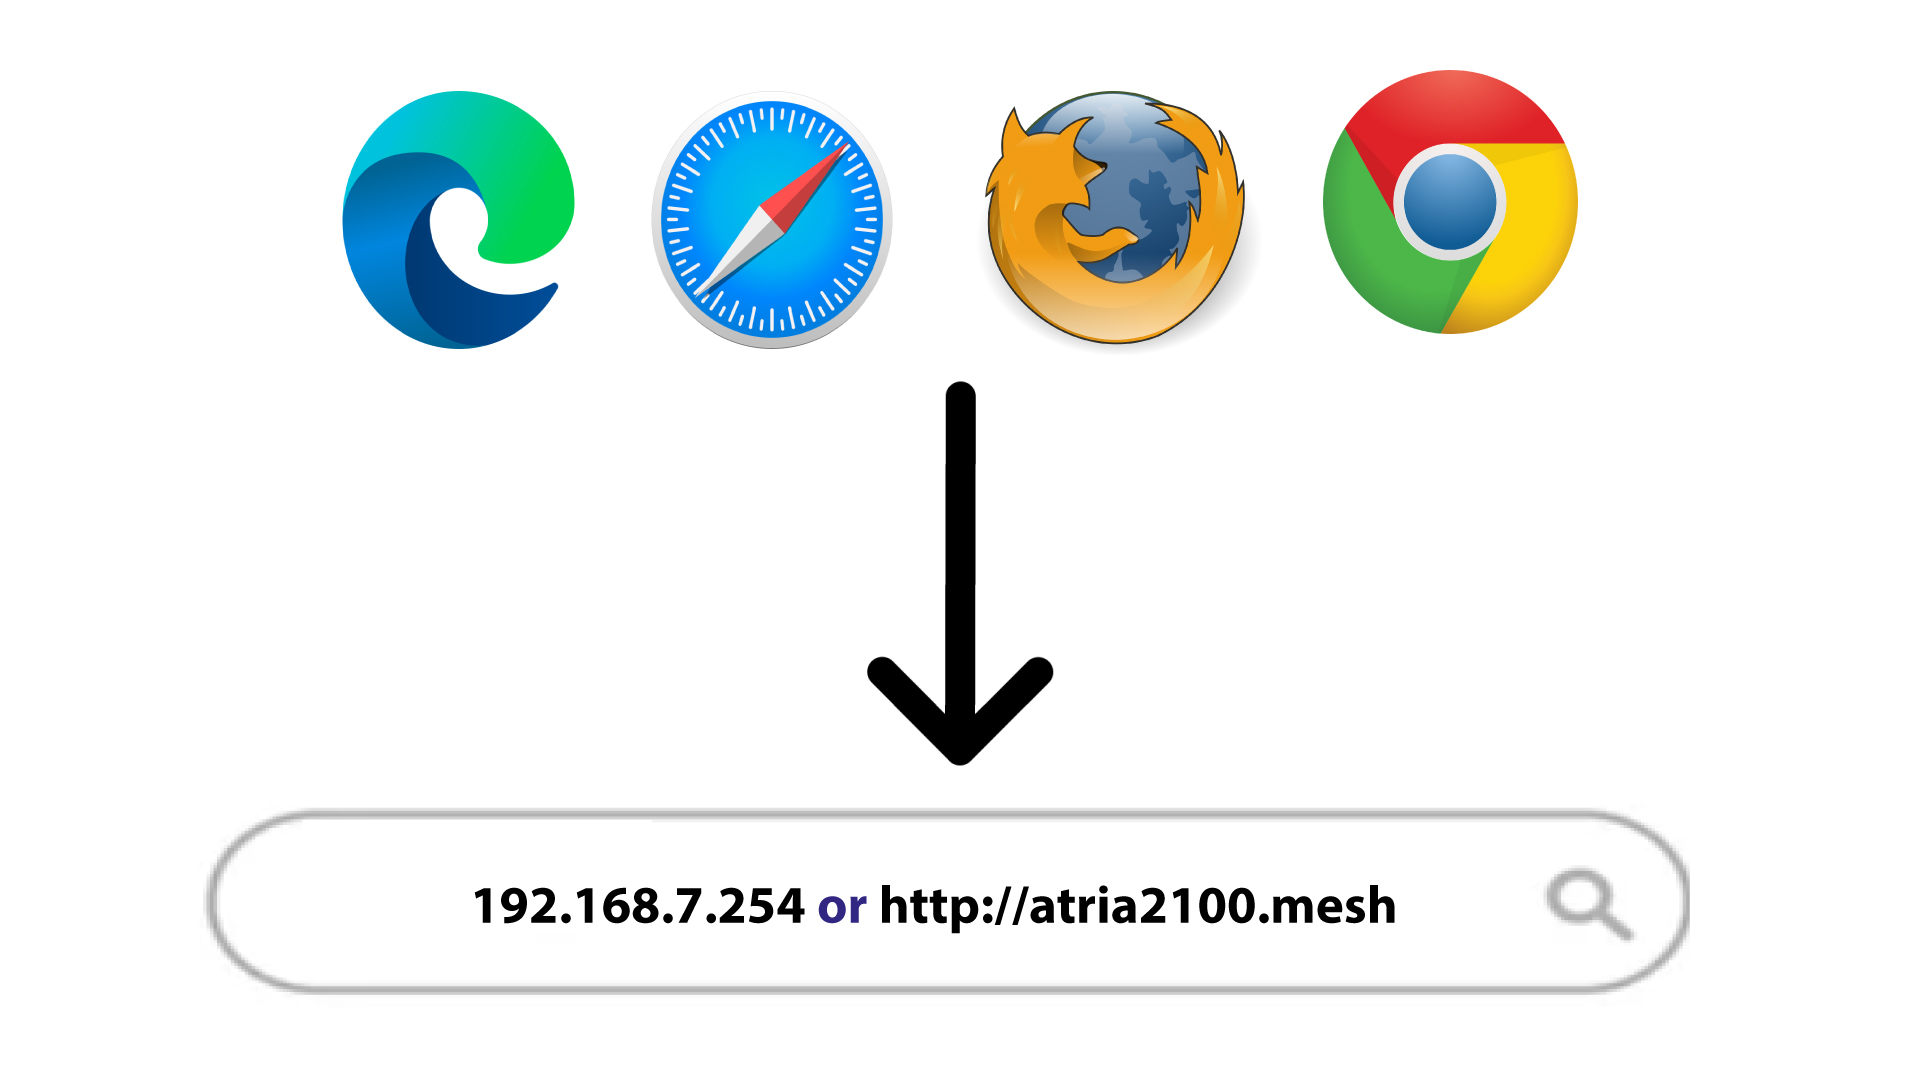
Browse to the IP Address of main mesh unit.
3LAN Info
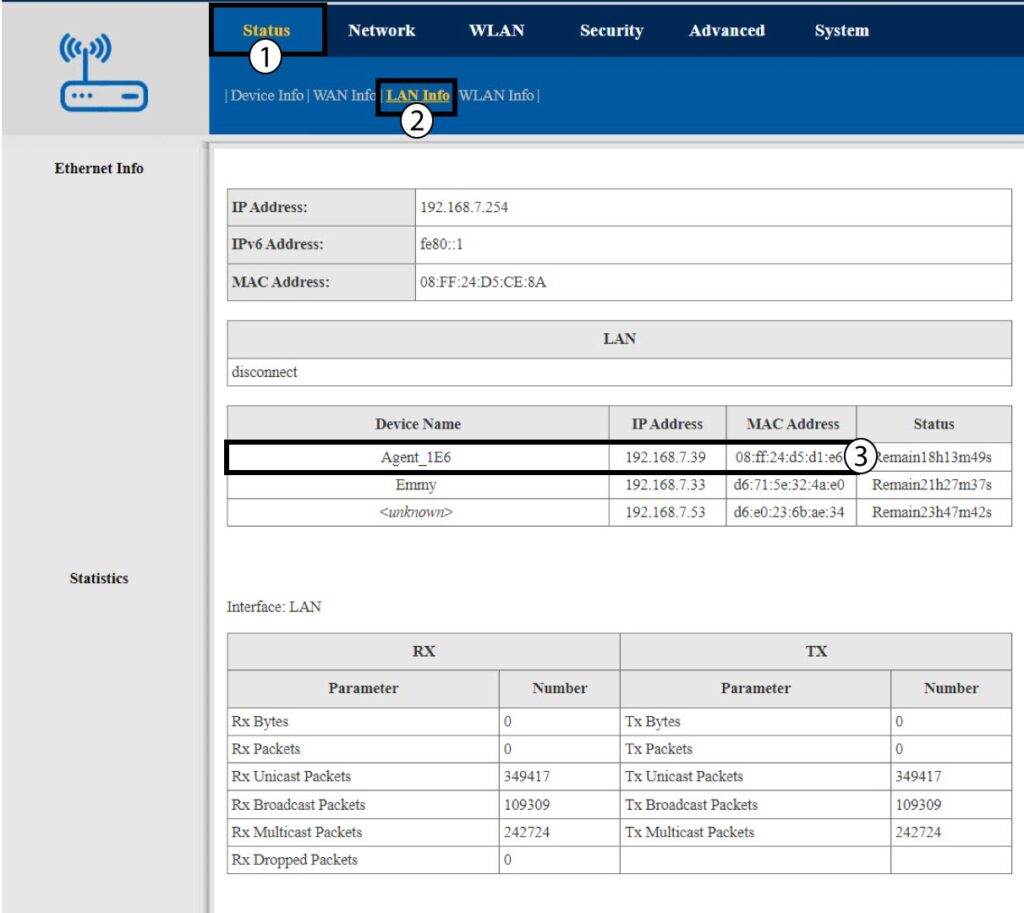
Click Status and LAN Info. In the list displayed, identify the mesh unit, its name starts with Agent.
4Write down the new information
Write down the IP Address and the MAC Address of the Agent.
5Static IP
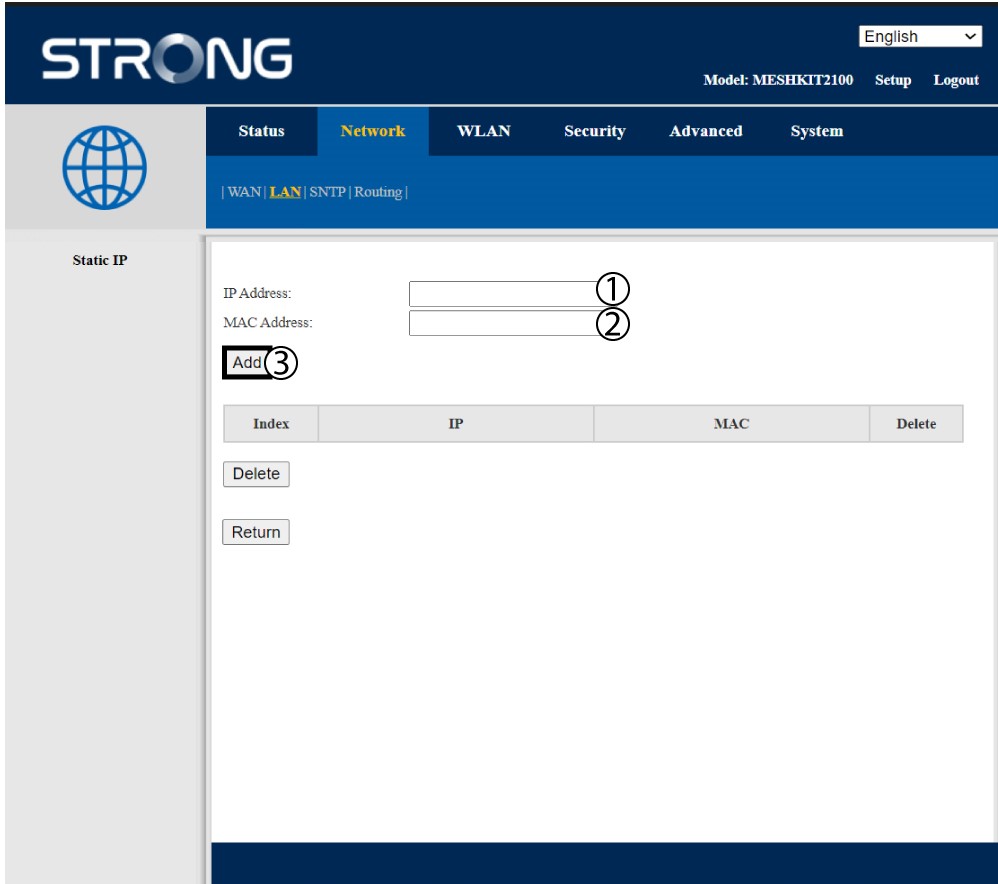
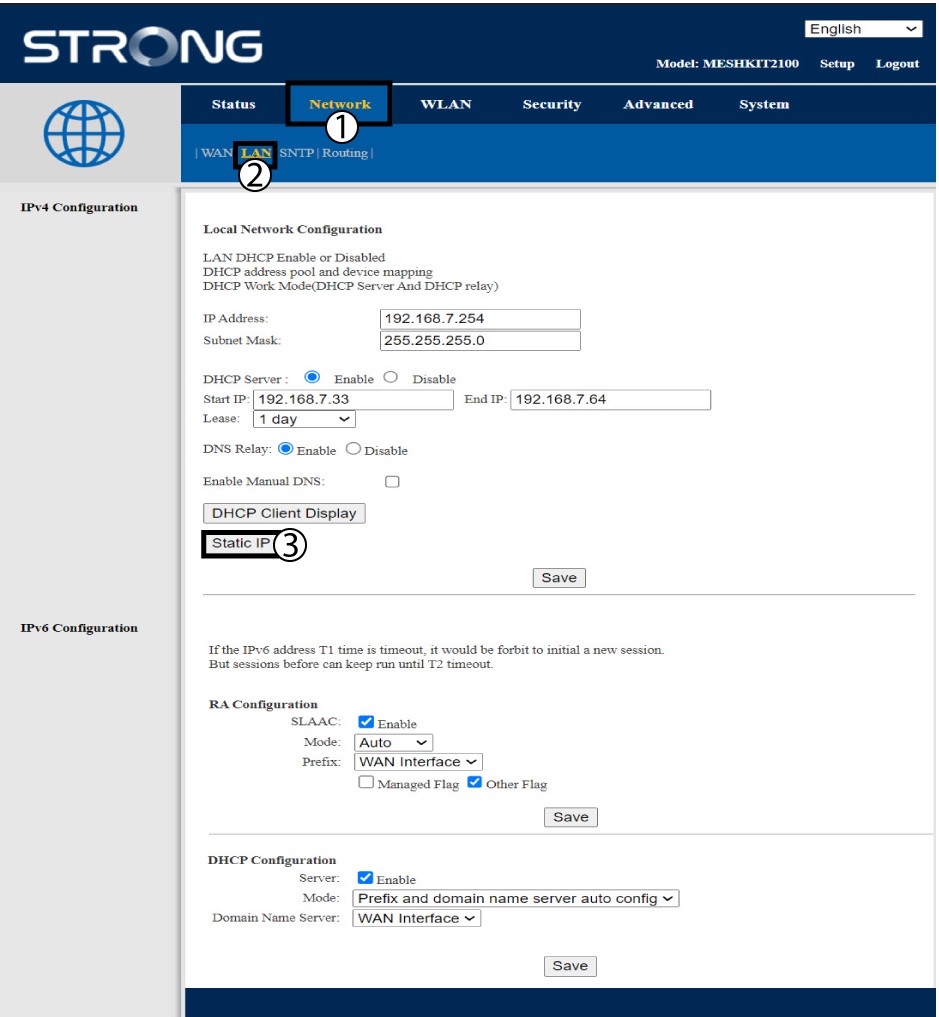
Click Network and LAN. Then, click Static IP.
6Add IP Address & MAC Address
Enter the IP Address and MACAddress before clicking Add.